Showing posts with label step by step. Show all posts

1/31/2022

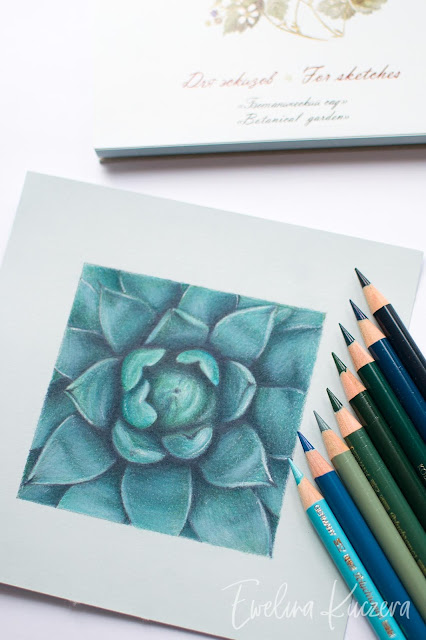
How to draw a succulent with colored pencils - a step by step tutorial

How to draw a succulent with colored pencils - a step by step tutorial

Recently I thought of drawing something using only green pencils and it resulted in creating this tiny step by step tutorial.

1/05/2022

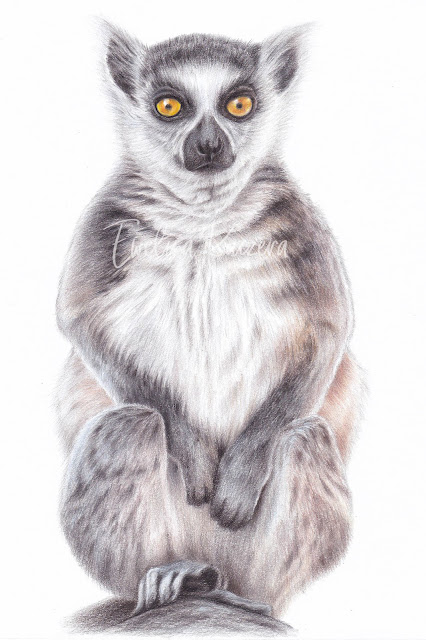
How to draw a Ring Tailed Lemur with colored pencils 2 - a step by step tutorial

How to draw a Ring Tailed Lemur with colored pencils 2 - a step by step tutorial


Hello in 2022! Today a tutorial I created in November - another Ring Tailed Lemur, a different pose but the same color shades used!

3/25/2021

How to draw an apple with colored pencils - step by step tutorial

How to draw an apple with colored pencils - step by step tutorial

Red apple drawing

A colored pencil step-by-step showing a red apple, ideal for beginners, using just seven shades. This tutorial was drawn with Koh-I-Noor Progresso pencils, but if you don't have them, use pencils you have - just compare the colors and choose similar :)


Progresso colors used:

3 Titanium White
10 Carmine Red
11 Natural Siena
12 Ivory Black
16 Bordeaux Red
23 Dark Brown
170 Pyrrole Red

Optionally:

Derwent Drawing Chinese White, kneadable eraser

Colors used and photo of Progresso pencils

Paper:

Strathmore Toned Gray, I used size approx. 8 x 10 cm (3 x 4 in) - you can use something a bit bigger if you want

Reference photo:

pixabay

So let's start!

1. The outlines - I did them with Carmine Red, Bordeaux Red and Dark Brown.

Look at the step 1 scan and draw carefully a rounded shape of an apple. Don't press the lead too hard to the surface so that you can easily erase eventual mistakes.


Step 1: outlines

2. Mark shades - with Dark Brown and Bordeaux Red on the apple.

Give them a smudgy look as in the attached drawing.


Step 2: adding base color

3. Add more shades - darkening our apple with Ivory Black and Dark Brown.

The bottom of the apple is in the shadow so it should be the darkest part.


Step 3: darkening base colors

4. Use Pyrrole Red to mark lighter parts of the fruit.

Leave some spaces uncovered - we will add there some white color later.


Step 4: adding bright red layer

5. Now take white pencil and draw the shiny parts.

Add some white here and there over previosuly created dark layers so that our apple will be more diverse in colors and with that more interesting.


Step 5: adding the shiny parts with white pencil

6. The last step - adding sme shadow under the apple and a bit of white to lighten the background.

The drawing is finished :)


Step 6: adding shadow and a bit of background


* It is forbidden to copy this material (and images included in it) without the author's permission.

3/19/2021

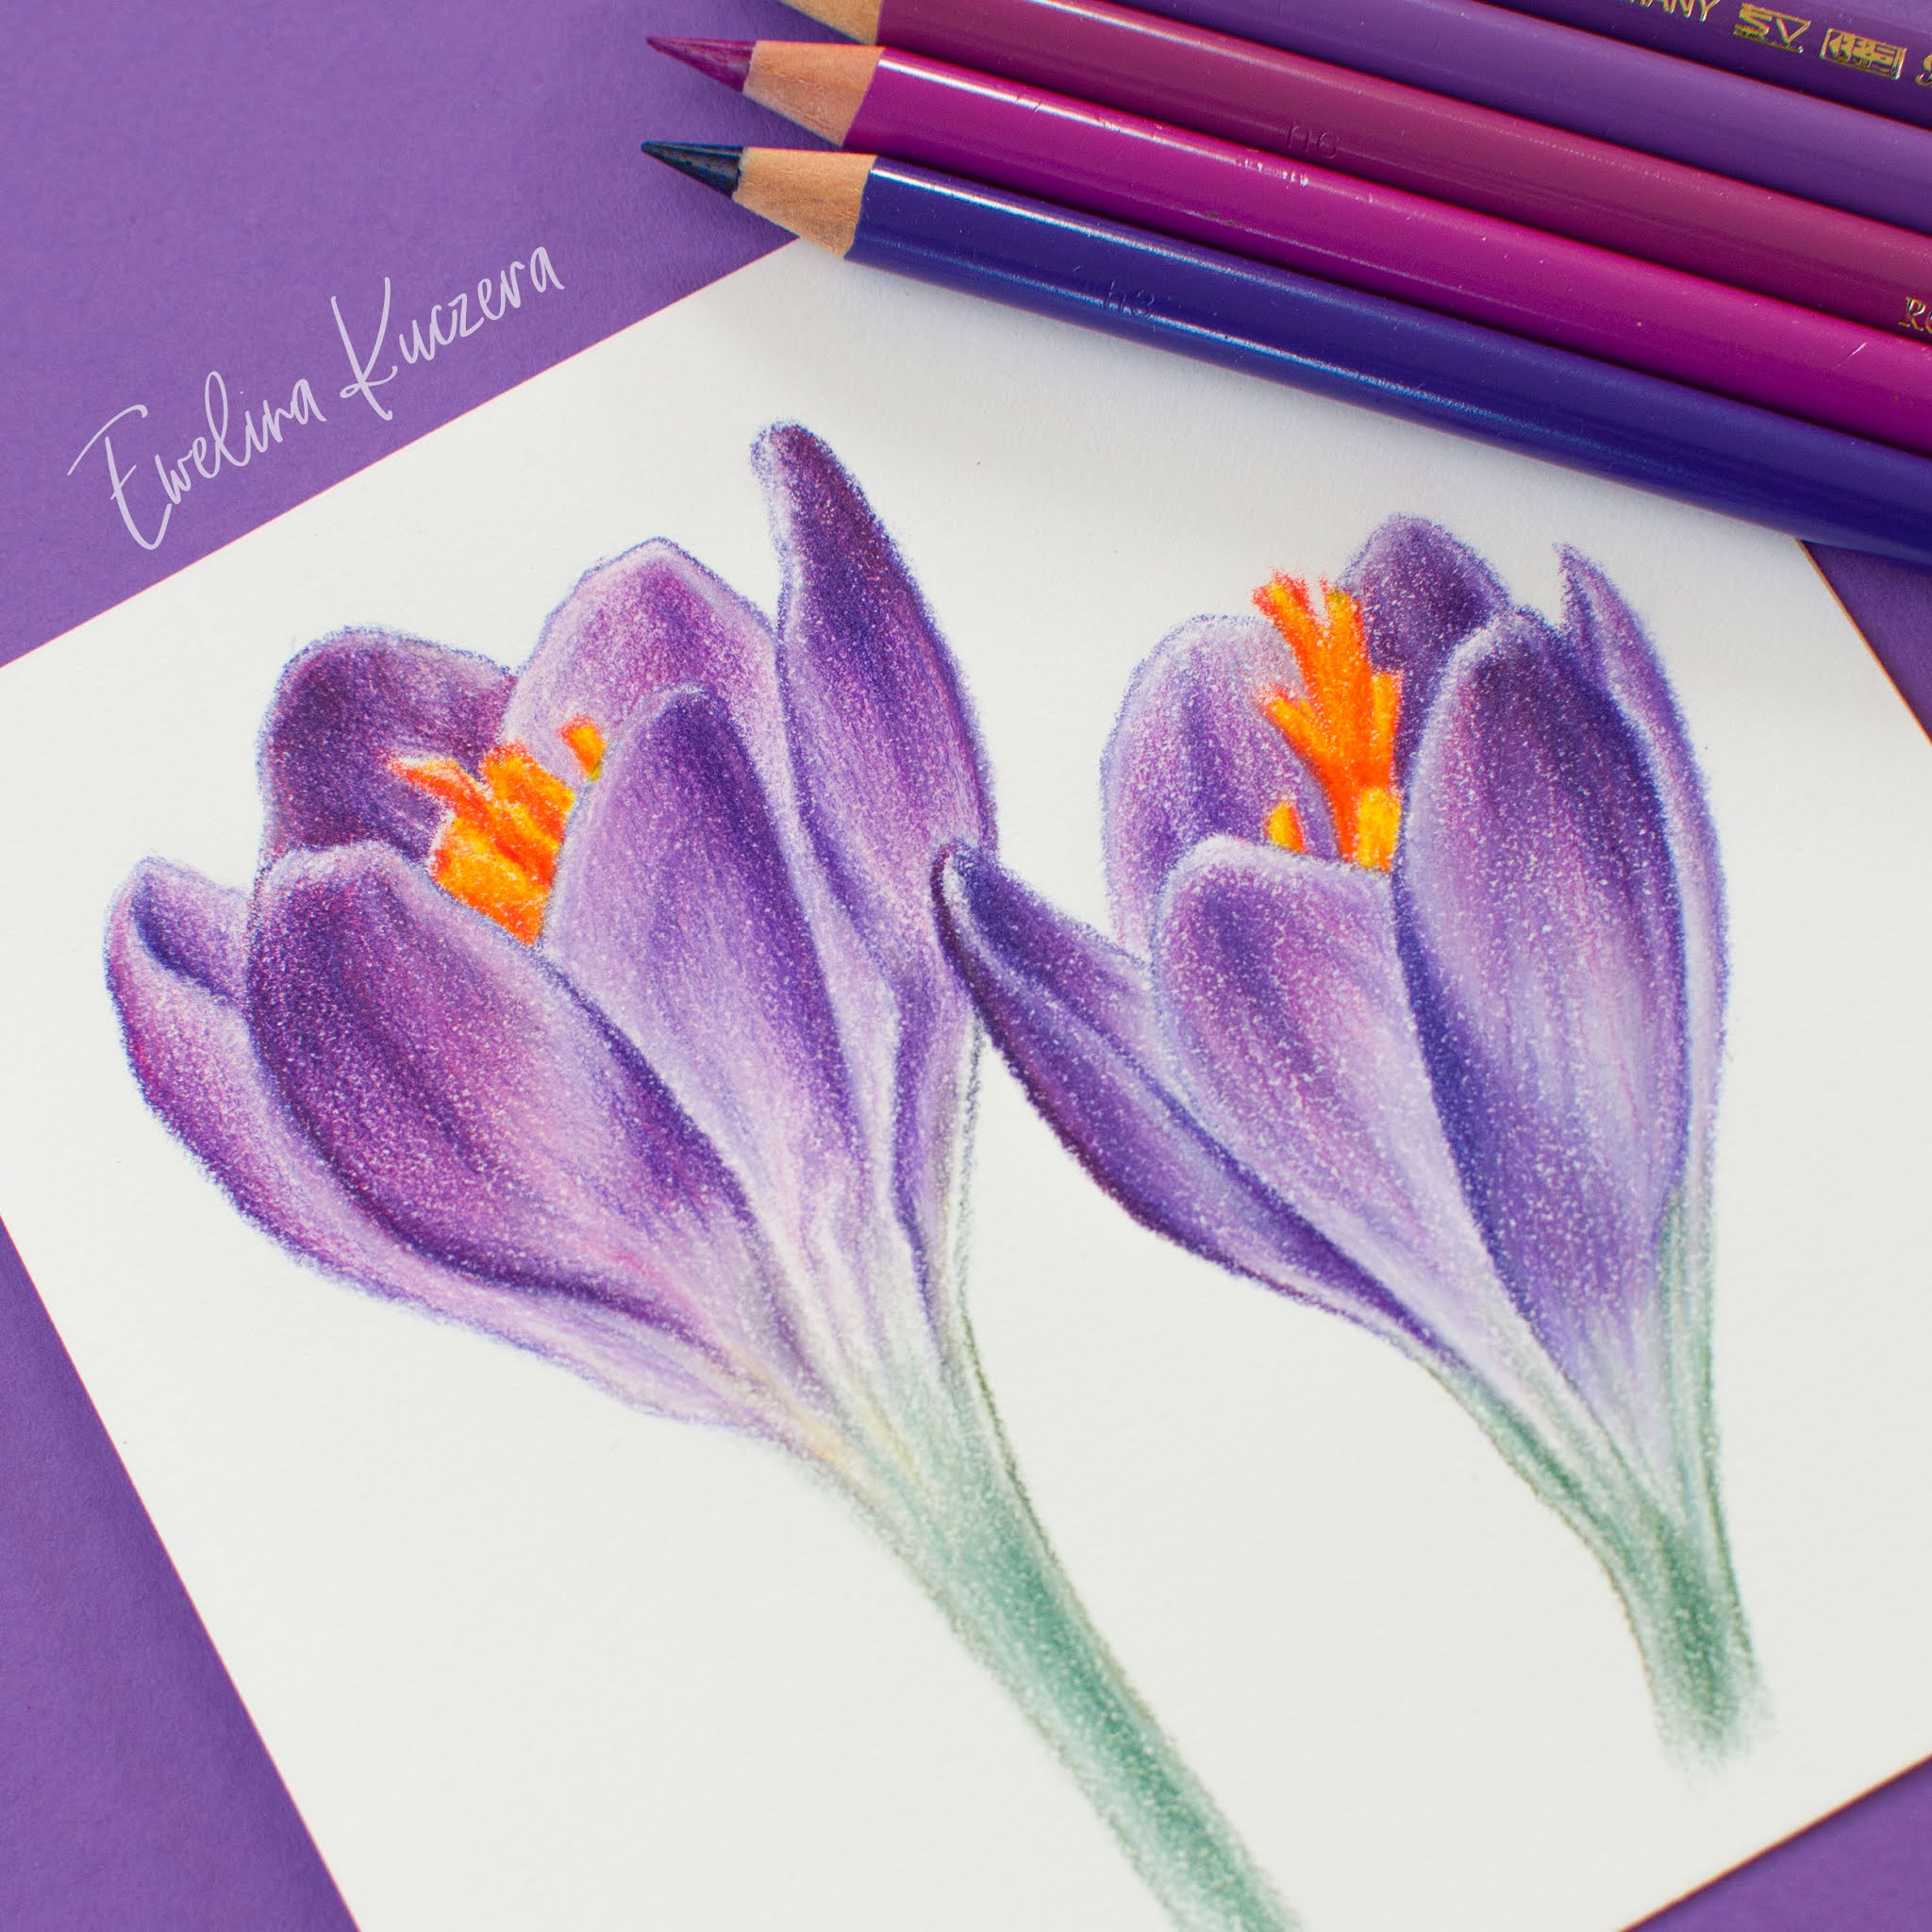
How to draw flowers with colored pencils - a step by step tutorial

How to draw flowers with colored pencils - a step by step tutorial

Spring is coming so I decided to draw these beautiful violet crocus flowers and create a tutorial, so take some paper, sharp your pencils and draw these flowers step by step!


7/22/2020

How to draw a dog with colored pencils - a step by step tutorial

How to draw a dog with colored pencils - a step by step tutorial


Long black fur can be tricky. In this tutorial I will show you my method and I will give you some tips on drawing on tinted paper.


7/16/2020

How to draw a cat with graphite pencils - step by step tutorial

How to draw a cat with graphite pencils - step by step tutorial


In this tutorial I will show you how to draw a cute kitten in 9 steps!


Media: I used Koh-I-Noor 1500 (yellow) pencils, 4B to 8B; kneaded rubber, pencil eraser (Koh-I-Noor Era)
Paper: white bristol, with slight texture, size A4 (approx. 8 x 10 in)
Optional: Daler Rowney Perfix Fixative spray - to protect the finished drawing Photo reference: Clipart Library, personal use
http://clipart-library.com/clip-art/persian-cat-silhouette-4.htm


Step 1: Sketching the shape


Let's define how much space will the drawing take, and make a sketch.
I took a pencil and measured the head on the photograph. I realised that it takes almost 3 heights of head to fill the sillhouette, just look at the scan.
Mark the fur - study the reference and look how it is arranged, it's curly and shorter closer to the head. In the middle of the photographed kitten it looks longer and fluffy.
When you draw eyes, ears - keep them in one line to avoid the situations like one eye is placed higher ;)


Step 2: Drawing an eye

Fill the eye with 4B pencil, do not press the pencil too much to the paper. Try to get a smooth and delicate look. Mark the iris and leave a white spot (the blink). You can use pencil eraser (or kneaded eraser) to make the bottom part of the pupil a little bit lighter. Darken the upper side of the pupil, you can use softer pencil like 6B - we want to achieve the shadow that comes from the eyelid. Take the 8B pencil and create a dark outline, just as shown in the scan. Start working on the short fur around the finished eye - notice that it is darker near the eye. You can use pencil eraser to create short white shiny hair.


Step 3: Creating the second eye and working on head fur

Follow the instruction from step 2 and draw the second eye the same way. Draw short hair on kitten's ear and head, using the pencil eraser from time to time. Mark the nose, draw light fur around it. Use softer pencil (7-8 B) to create darker parts, slightly increase pressing the lead to the paper.


Step 4: Drawing the second ear and the rest of the head

You can use softer pencil like 6B to fill the whole ear. Then create the darker outline. Draw the rest of the head, lighter parts first, then press the lead harder and create darker hair. Use pencil eraser to make white hair on the ear.


Step 5: Creating longer and fluffy hair

Use 4B pencil to make the first layer - apply the graphite in a delicate and steady way. Then mark darker wavy hair here and there. Use pencil (or kneaded) eraser to add some lighter fur and single hair. Now we have the impression that the fur shines in some parts :)


Step 6: Working on the fur

Let's continue and draw the back of the kitty using the same method as described above. First, a smooth and light layer, then darken groups of hair and finally adding some light by erasing.


Step 7: Drawing the paws

Start filling the front and back paw - look at the reference and observe how the fur waves. Use the same way to apply graphite as before in steps 5 and 6.


Step 8: Still working on the paws

Continue working on the paws. You can see this step looks a bit darker. I just applied more 8B graphite on the head, around it and at the back. I used a lot of the pencil eraser -  to create long, white curly hair.


Step 9: Finishing the drawing

We are slowly finishing our kitten. All we have to do is to finish these lovely paws, with its wavy and soft fur. Mark the tail behind the cat and a delicate soft shadow under it. We must add some whiskers. That can be done by erasing the graphite with fine tip pencil eraser. Now when the drawing is finished you can spray it with a special fixative for pencils. That will protect the artwork from smudging.




* It is forbidden to copy this article (and drawings included in it) without the author's permission.