Showing posts with label polychromos. Show all posts

7/21/2022

How to draw a frog with colored pencils - a step by step tutorial

How to draw a frog with colored pencils - a step by step tutorial


The picture shows a drawing of a red-eyed frog sitting on a stem in a green surrounding

Hello in July! It's time for another tutorial. Since its summer, I decided to post a step-by-step multicolor drawing of a tropical frog. So take your colored pencils in vivd colors and some paper and draw with me!

1/31/2022

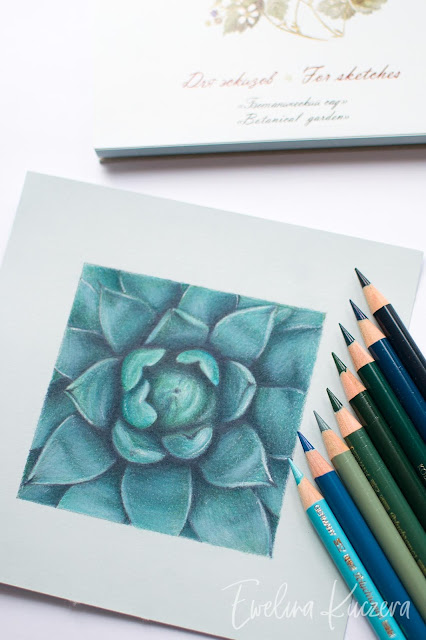
How to draw a succulent with colored pencils - a step by step tutorial

How to draw a succulent with colored pencils - a step by step tutorial

Recently I thought of drawing something using only green pencils and it resulted in creating this tiny step by step tutorial.

1/25/2022

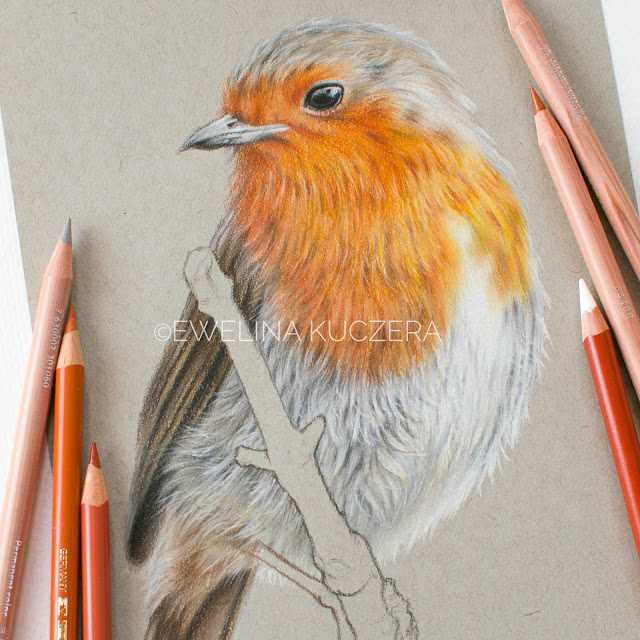
How to draw a bird with colored pencils - robin step by step tutorial

How to draw a bird with colored pencils - robin step by step tutorial


Hello! Today a tutorial I wanted to do some time ago (I scanned phases in summer 2020!) but I totally forgot about it! But here it is - I hope you'll enjoy it!

1/17/2022

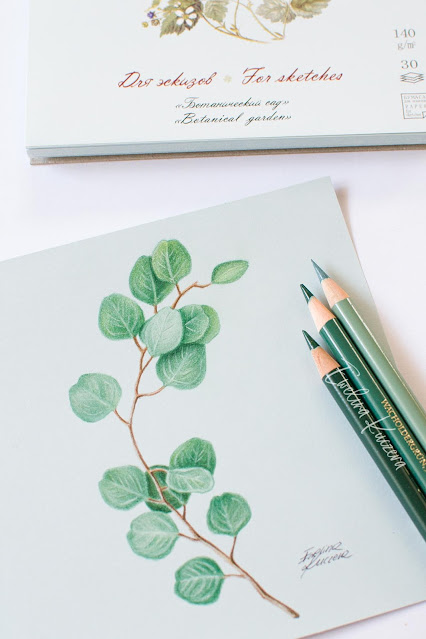
How to draw plants with colored pencils - Eucalyptus Branch step by step tutorial

How to draw plants with colored pencils - Eucalyptus Branch step by step tutorial


Here's a short (only 5 steps) tutorial of an eucalyptus branch which shows how to draw leaves with colored pencils.


1/05/2022

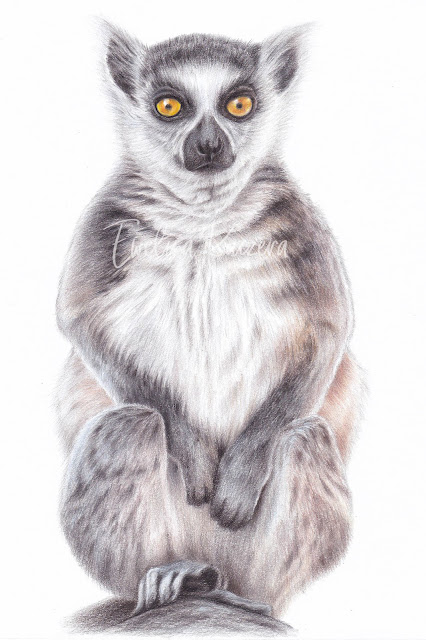
How to draw a Ring Tailed Lemur with colored pencils 2 - a step by step tutorial

How to draw a Ring Tailed Lemur with colored pencils 2 - a step by step tutorial


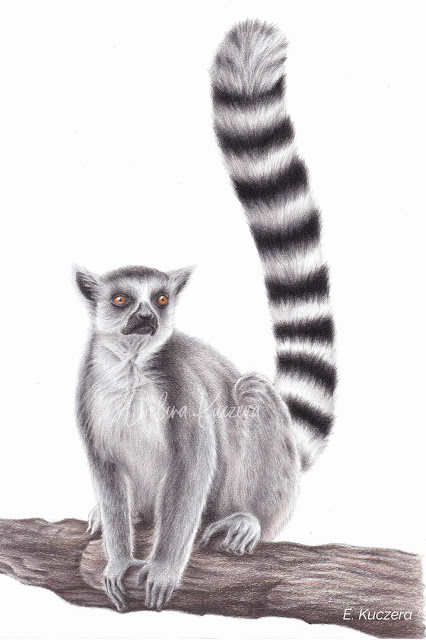
Hello in 2022! Today a tutorial I created in November - another Ring Tailed Lemur, a different pose but the same color shades used!

12/17/2021

How to draw a Ring Tailed Lemur with colored pencils - a step by step tutorial

How to draw a Ring Tailed Lemur with colored pencils - a step by step tutorial


Recently I have drawn two portraits showing lemurs so I thought it is a good idea to scan them step-by-step and that resulted in two tutorials - here is the first one!

3/19/2021

How to draw flowers with colored pencils - a step by step tutorial

How to draw flowers with colored pencils - a step by step tutorial

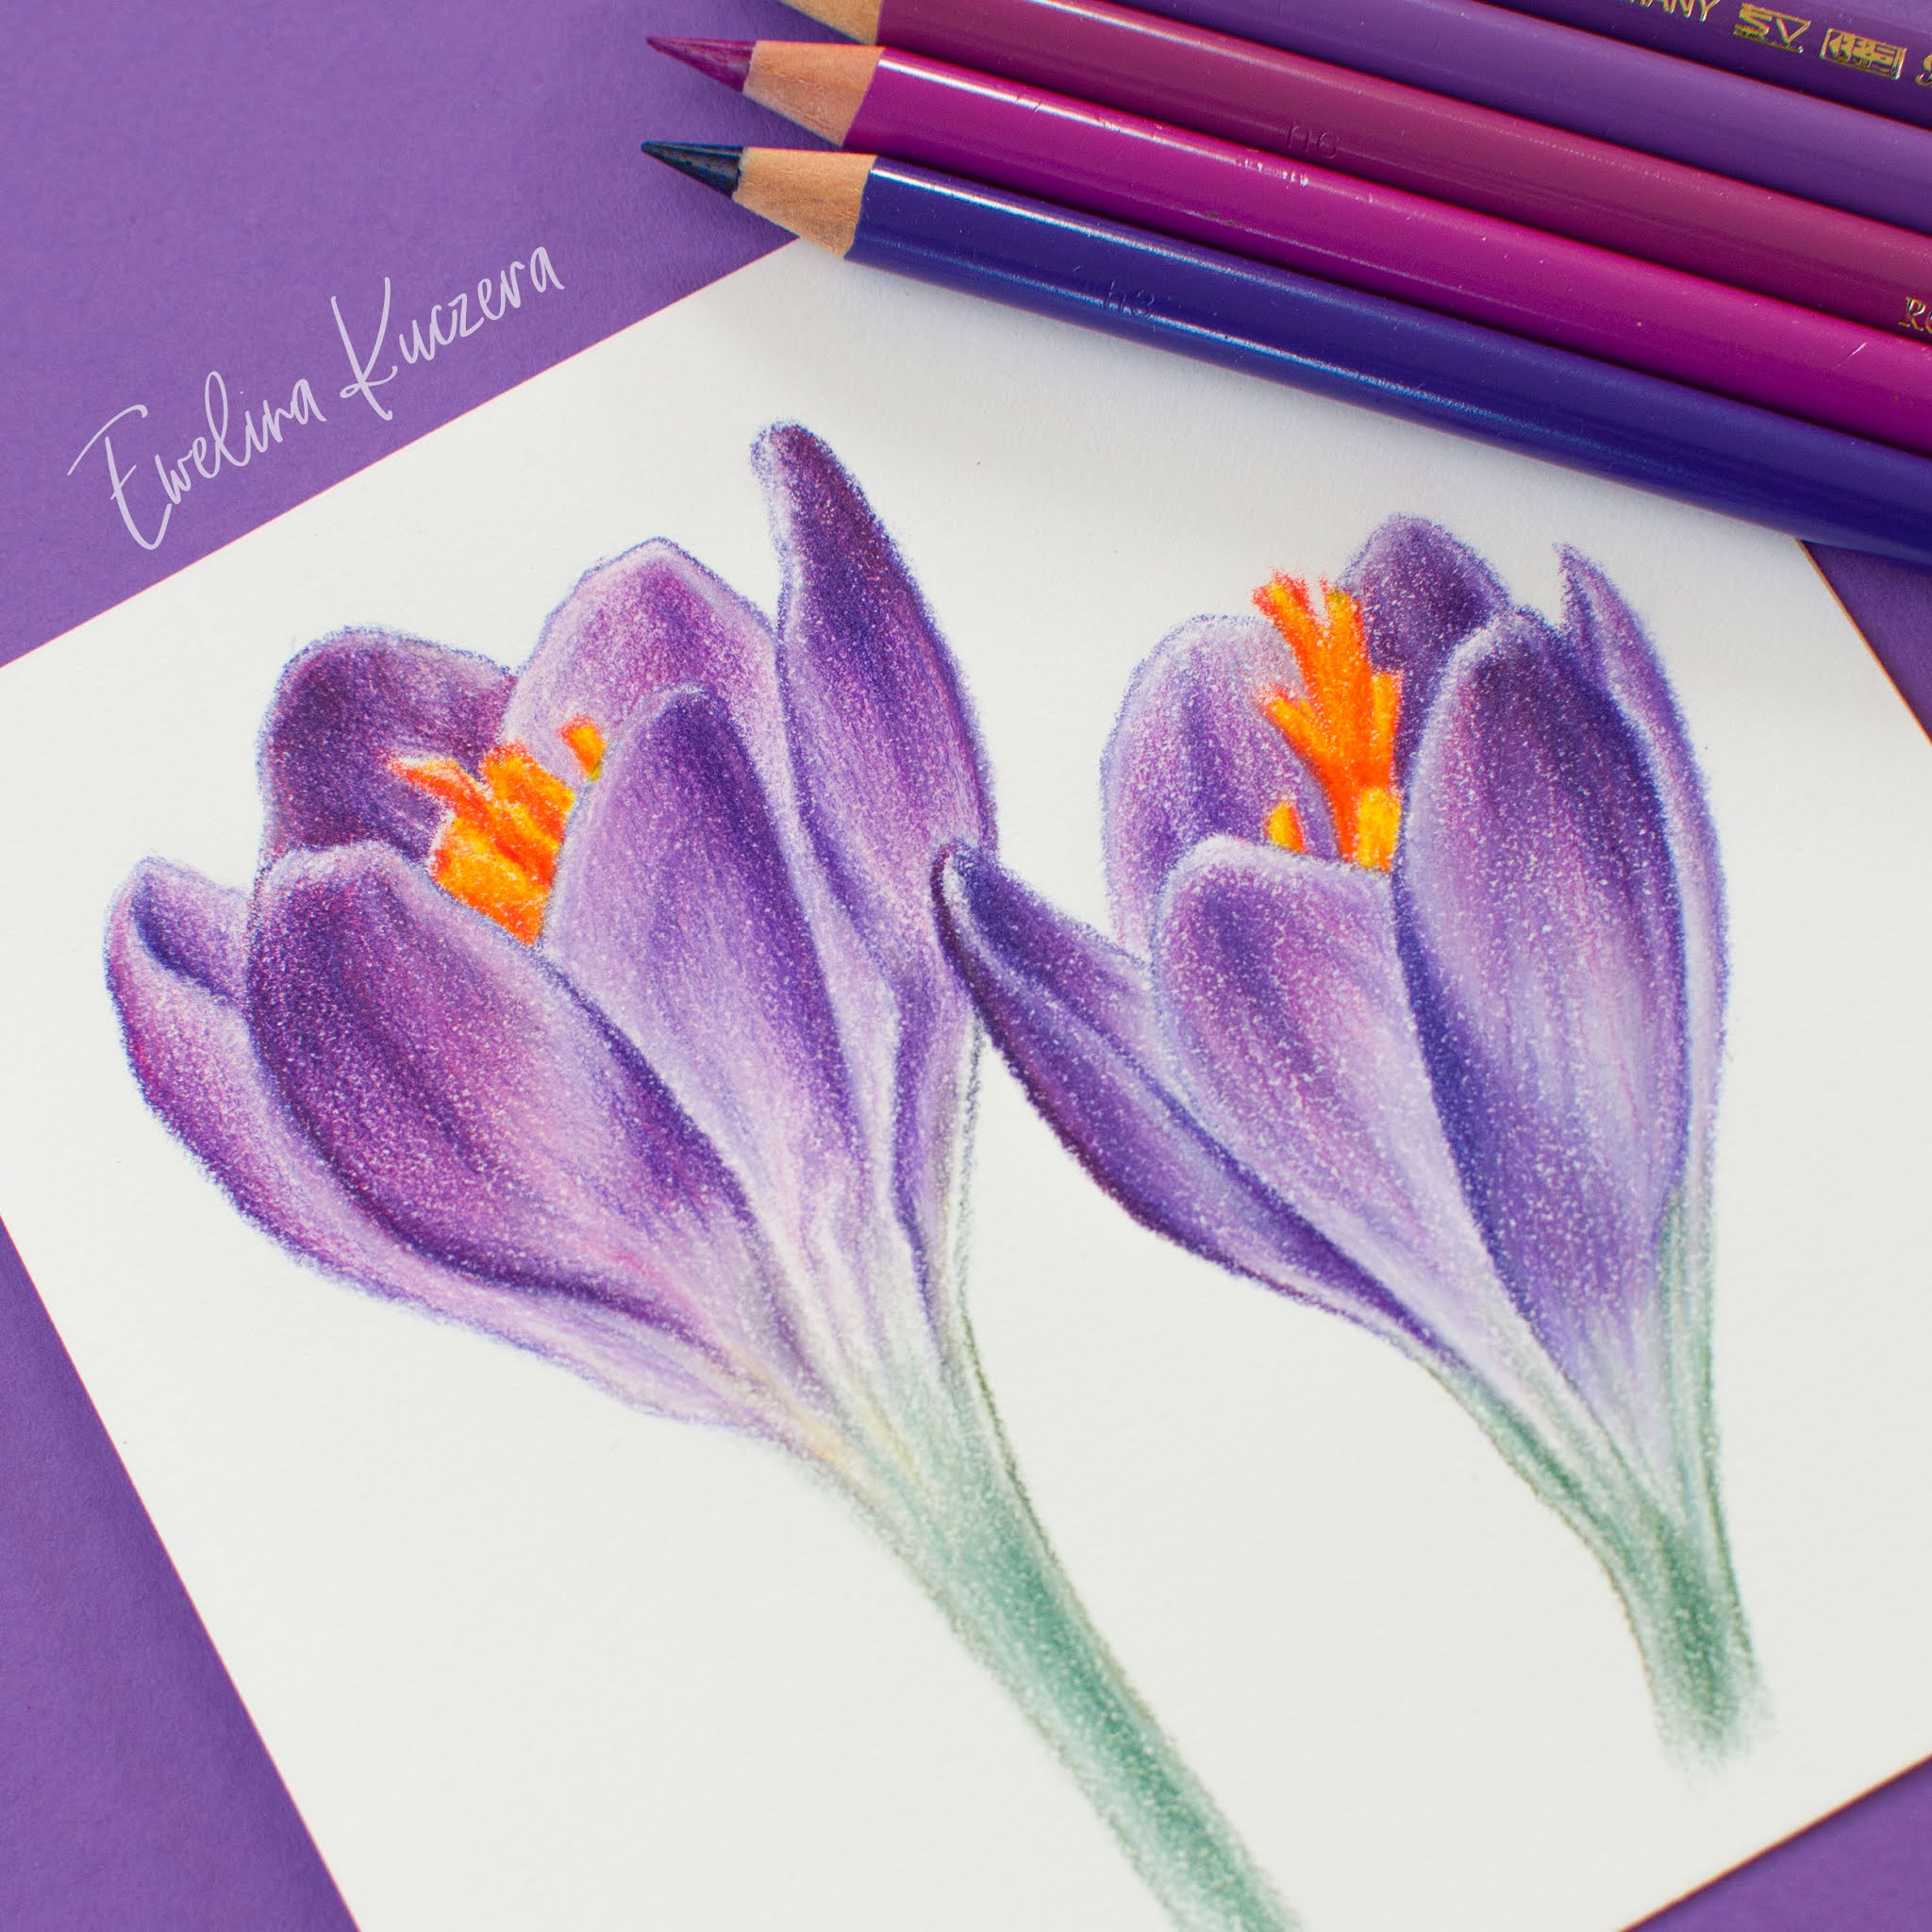
Spring is coming so I decided to draw these beautiful violet crocus flowers and create a tutorial, so take some paper, sharp your pencils and draw these flowers step by step!


7/22/2020

How to draw a dog with colored pencils - a step by step tutorial

How to draw a dog with colored pencils - a step by step tutorial


Long black fur can be tricky. In this tutorial I will show you my method and I will give you some tips on drawing on tinted paper.


8/21/2016

Australian Shepherd - Step by step

Australian Shepherd - Step by step
In this post I will show you how to draw a dog's portrait. This is an Australian Shepherd breed :)


As far as I remember, I used these materials:

- Faber Castell Polychromos pencils: black, dark sepia, sanguine, walnut brown, cream, bistre
- Derwent Drawing Chinese White pencil
- Prismacolor pencils: 20% warm grey, sepia, dark umber, burnt ochre, mediterranean blue, 90% warm grey
- Canson Mi Teintes pastel paper, size 8 x 9.5" (flannel grey colour, but felt grey is also good)
- a piece of paper to put under your hand (to protect the drawing from smudging)


1. I started from a sketch with Polychromos dark sepia pencil. I always try to keep the sketch more or less in the centre of the sheet.

The printed reference photo had the same size as my sheet of paper. I took all the measures from the photo (the distances between eyes, ears, etc.) with a pencil and marked them on my paper.


2. I always try to start drawing portraits (of people, animals) with eyes. I colored the iris with blue Prismacolor,  added some grey. Then I did the pupil with black pencil.

When you start drawing the fur, first look at the photo and study it. The fur around the eyes is arranged in a 'circular' way; it is a bit messy on the ears.

I begin with the brightest hair (in this case - white, drawn with Derwent white pencil, and that's why they are so clear on grey paper). Then I use brown pencils for darker fur and in the end, I use black for the darkest parts.


3. If you are right-handed like me, it is advised to draw the left part first. Otherwise the drawing can be destroyed by smudging. It is good to have a piece of paper under your hand.

I draw the ear on the left using the method described above - white parts first, with fine strokes of white sharpened pencil to give them a natural, a bit messy, look. Then I do the same with brown, and finally the black.


4. I finish the left side; I draw the white parts with Derwent pencil pressed hard to the surface to cover the grey paper and to get the plain white area. On this layer I mark grey and black hair.

Now I create the second eye - I begin with this white gleam, then I draw the blue iris and finally the black pupil. I draw the fur around the eye, starting from the brightest.


5. It's time for the white fur around the nose; then I use the black color to fill the area of the nose. I use Derwent white pencil to create the light on the black nose.


6. The second ear is drawn using the method mentioned earlier.


7. I slowly come to an end - I decided to give it a circular finish.


8. I finish the drawing with a white Derwent pencil pressed hard to the paper. I add some grey and cream areas to emphasize the brightest part. On the darkest fur you can add some fine strokes with a sharpened white pencil. At this point you can also add some details with white gelpen, like the gleam in the eye or white hair :)


* It is forbidden to copy this article (and drawings included in it) without the author's permission.

8/20/2016

Faber Castell Polychromos review - a set of 36 assorted colors

Faber Castell Polychromos review - a set of 36 assorted colors


Hello!

Today I will review coloured pencils which I use most - Faber Castell Polychromos. This is a top quality product, reccommended for professional artists.

They are available as assorted colours sets of 12, 24, 36, 60 and 120 colours in a tin box.
You can buy them individually.

All the 120 shades are also available packed in an elegant, impressive black case:


I think every artist would like to have such box :D

Prices: from $20 (Jerry's Artarama; 12 colours set) to $383 (Jerry's; 120 colours black case)
Individually: $1.70